The post How to Set Up Nginx Server Block on Ubuntu appeared first on PixelsPress.
]]>Prerequisites
- Have an Ubuntu 16.04 x64 / 18.04 x64 / 22.04 x64 instance.
- Logged in as a root with sudo privileges.
- Installed Nginx on Ubuntu.
Note: For demonstration purposes, we’re going to set up one domain on our Nginx server. The domain name we’ll use in this guide is yourdomain1.com.
Setting Up Document Root
The document root is the directory where the website files for a domain name are stored and served in response to requests. We will create document root within /var/www for our website with the following directory structure:
/var/www/
├── yourdomain1.com
│   └── html
├── yourdomain2.com
│   └── html
We need to create the directory for our website by running the following command:
sudo mkdir -p /var/www/yourdomain1.com/htmlThe -p flag tells mkdir to create any necessary parent directories along the way:
We are assuming that we have already placed an HTML file on our domain that will be shown when you visit the domain in your browser i.e.
/var/www/yourdomain1.com/html/index.htmlSince the command above is executed as a sudo user, the newly created files and directories are owned by root.
To avoid any permission issues, we can reassign the ownership of the domain document root directory to the Nginx user (www-data):
sudo chown -R www-data:www-data /var/www/yourdomain1.com/htmlCreating a Server Block
On Ubuntu, Nginx Server Block configuration files are located in /etc/nginx/sites-available directory. They can be enabled by creating symbolic links to the /etc/nginx/sites-enabled directory, which Nginx reads during the startup.
We will create our first server block config file by copying over the default file:
sudo cp /etc/nginx/sites-available/default /etc/nginx/sites-available/yourdomain1.com.confNow, open the new file you created in your text editor with sudo privileges i.e.
sudo nano /etc/nginx/sites-available/yourdomain1.com.confThe file will look similar to following
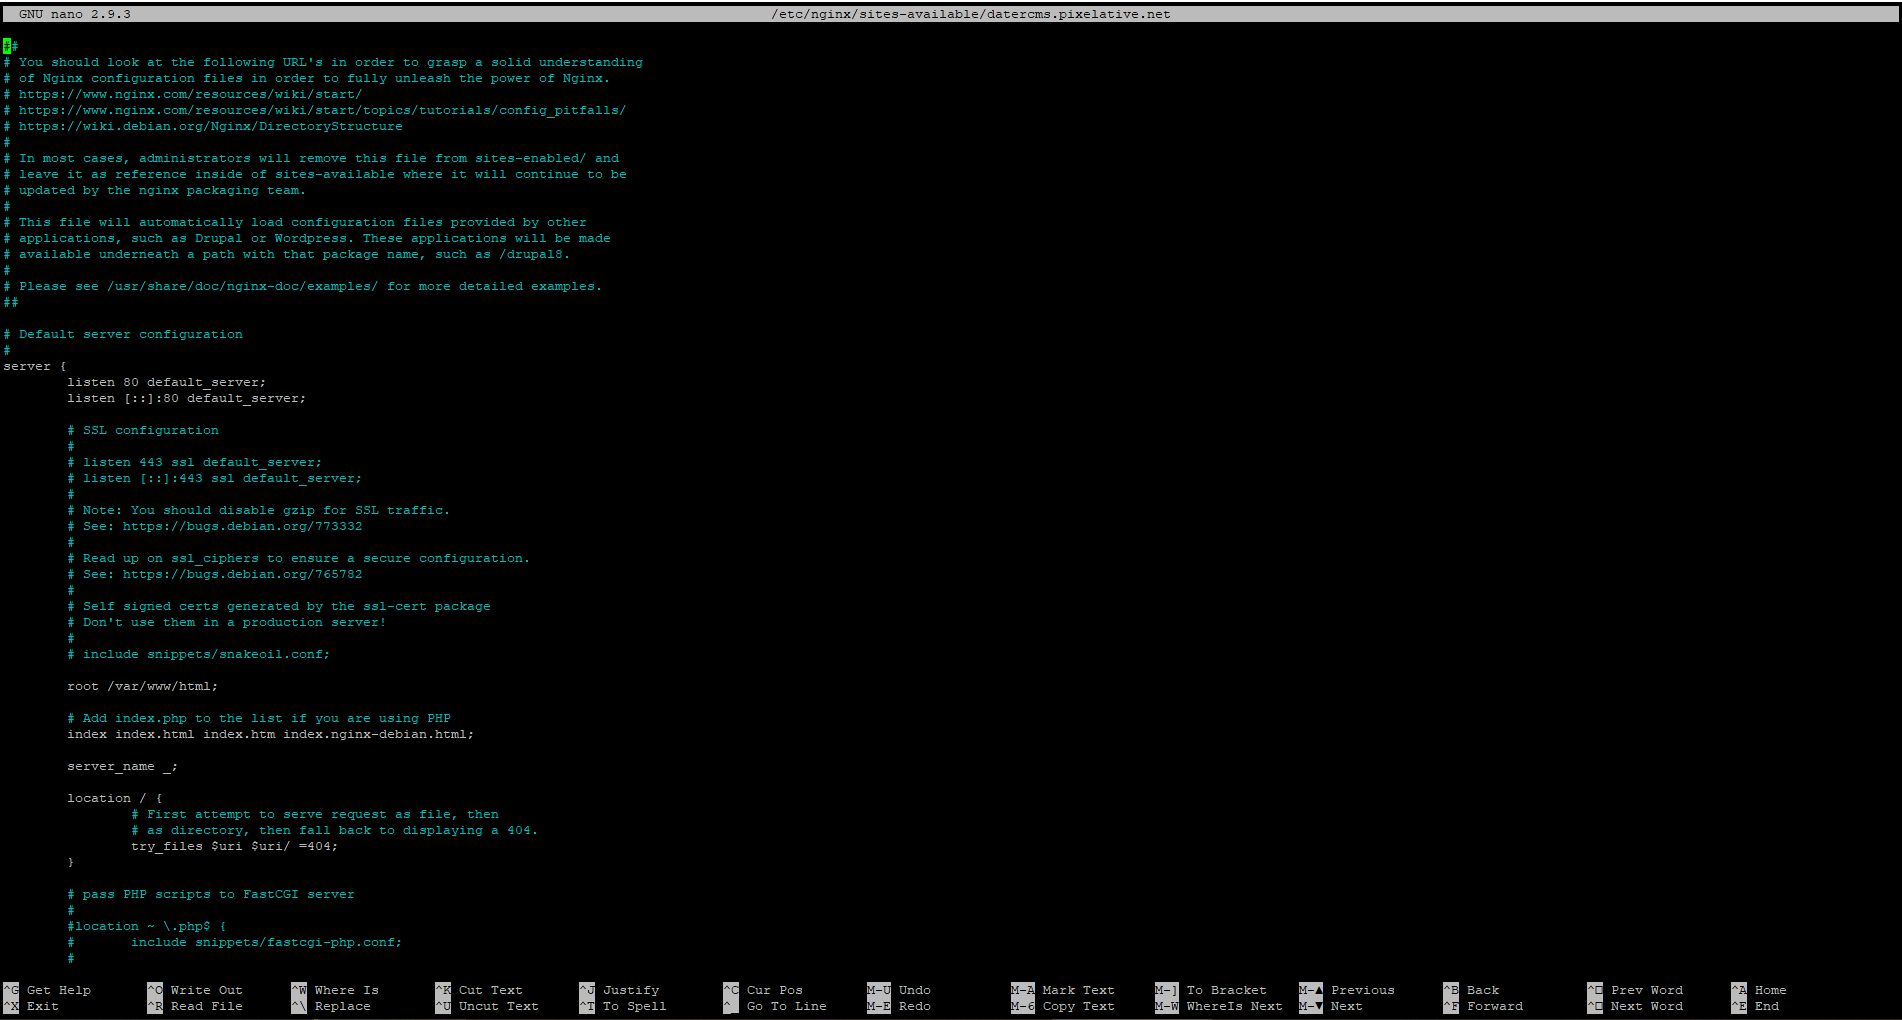
First, we need to look at the listen directives. Only one of our server blocks on the server can have the default_server option enabled. This specifies which block should serve a request if the server_name requested does not match any of the available server blocks. This shouldn’t happen very frequently in real world scenarios since visitors will be accessing your site through your domain name.
In this guide, we’ll leave the default server block in place to serve non-matching requests, so we’ll remove the default_server from this and the next server block.
server {
    listen 80;
    listen [::]:80;

    root /var/www/yourdomain1.com/html;

    server_name yourdomain1.com www.yourdomain1.com;

    location / {
	try_files $uri $uri/ =404;
    }
}root: Adjusted the document root by pointing it to the site’s document root that we created:server_nameto match requests for our domain. We can additionally add any aliases that we want to match. We will add awww.yourdomain1.comalias to demonstrate.
That is all we need for a basic configuration. Save and close the file to exit.
Enable your Server Block and Restart Nginx
Now that we have our server block file, we need to enable them. We can enable the new server block by creating symbolic link from the file to the sites-enabled directory with the following command, which Nginx reads during startup.
sudo ln -s /etc/nginx/sites-available/yourdomain1.com.conf /etc/nginx/sites-enabled/Next, test the Nginx configuration to make sure that there are no syntax errors in any of your Nginx files:
sudo nginx -tIf there are no errors, the output will look like this:
nginx: the configuration file /etc/nginx/nginx.conf syntax is ok
nginx: configuration file /etc/nginx/nginx.conf test is successful
Now restart Nginx to enable your changes:
sudo systemctl restart nginxNginx should now be serving your domain name.
Conclusion
You should now have the ability to create server block for each domain you wish to host from the same server. You can repeat the steps we outlined above and create additional server blocks for all of your domains.
If you are facing any problems, feel free to leave a comment.
The post How to Set Up Nginx Server Block on Ubuntu appeared first on PixelsPress.
]]>The post How to Secure Your Nginx Website Using Let’s Encrypt on Ubuntu appeared first on PixelsPress.
]]>Prerequisites
- Have an Ubuntu 18.04 x64 / 20.04 x64 instance.
- Logged in as root with sudo privileges.
- Installed Nginx
- A fully registered domain name. We use yourdomain.com throughout. You can purchase a domain name on Namecheap, or use the domain registrar of your choice.
Both of the following DNS records set up for your server. i.e.
- An A record with yourdomain.com pointing to your server’s public IP address.
- An A record with www.yourdomain.com pointing to your server’s public IP address.
Step 1: Install Certbot
Certbot is an automated SSL installer that Let’s Encrypt uses so we are going to install that. So write the following command.
sudo apt install certbot python3-certbot-nginxYou can verify the Certbot by using the following command
certbot --versionStep 2: Confirming Nginx’s Configuration
You should have a server block for your domain i.e. yourdomain.com in Nginx at /etc/nginx/sites-available/yourdomain.com with the server_name directive already set appropriately.
To check, open the server block file for your domain using nano text editor with the following command:
sudo nano /etc/nginx/sites-available/yourdomain.comFind the existing server_name line. It should look like this:
...
server_name yourdomain.com www.yourdomain.com;
...
If it does, exit your editor and obtain an SSL certificate and get Certbort to do all the configuration by itself for Nginx.
sudo certbot --nginx -d yourdomain.com -d www.yourdomain.com -m admin@yourdomain.com --agree-tos --no-eff-emailThis runs Certbot with the --nginx plugin, using -d to specify the names we’d like the certificate to be valid for.
If this is your first time running, you will be prompted to enter an email address and agree to the terms of service. After doing so, Certbot will communicate with the Let’s Encrypt server, then run a challenge to verify that you control the domain you’re requesting a certificate for.
If that’s successful, Certbot will ask how you’d like to configure your HTTPS settings.
OutputPlease choose whether or not to redirect HTTP traffic to HTTPS, removing HTTP access.
-------------------------------------------------------------------------------
1: No redirect - Make no further changes to the webserver configuration.
2: Redirect - Make all requests redirect to secure HTTPS access. Choose this for new sites, or if you're confident your site works on HTTPS. You can undo this change by editing your web server's configuration. -------------------------------------------------------------------------------
Select the appropriate number [1-2] then [enter] (press 'c' to cancel):
Select your choice then hit ENTER. The configuration will be updated, and Nginx will reload to pick up the new settings. Certbot will wrap up with a message telling you the process was successful and where your certificates are stored:
Output
IMPORTANT NOTES:
- Congratulations! Your certificate and chain have been saved at: /etc/letsencrypt/live/yourdomain.com/fullchain.pem Your key file has been saved at: /etc/letsencrypt/live/yourdomain.com/privkey.pem Your cert will expire on 2018-07-23. To obtain a new or tweaked version of this certificate in the future, simply run certbot again with the "certonly" option. To non-interactively renew *all* of your certificates, run "certbot renew"
- Your account credentials have been saved in your Certbot configuration directory at /etc/letsencrypt. You should make a secure backup of this folder now. This configuration directory will also contain certificates and private keys obtained by Certbot so making regular backups of this folder is ideal.
- If you like Certbot, please consider supporting our work by:
Donating to ISRG / Let's Encrypt: https://letsencrypt.org/donate
Donating to EFF: https://eff.org/donate-le
Your certificates are downloaded, installed, and loaded. Try reloading your website using https:// and notice your browser’s security indicator. It should indicate that the site is properly secured, usually with a green lock icon. If you test your server using the SSL Labs Server Test, it will get an A grade.
Step 3 — Auto-Renewal Let’s Encrypt Certificate
Let’s Encrypt certificates are only valid for ninety days. This is to encourage users to automate their certificate renewal process. The Certbot we installed takes care of this for us by adding a renew script to /etc/cron.d. This script runs twice a day and will automatically renew any certificate that’s within thirty days of expiration.
You can see this cronjob in /etc/cron.d/certbot file:
0 */12 * * * root test -x /usr/bin/certbot -a \! -d /run/systemd/system && perl -e 'sleep int(rand(43200))' && certbot -q renewTo test the renewal process, you can do a dry run with Certbot:
sudo certbot renew - dry-runConclusion
Now you have learned how to secure your Nginx website using Let’s Encrypt on Ubuntu.
If you have a question or facing any problems, feel free to leave a comment.
The post How to Secure Your Nginx Website Using Let’s Encrypt on Ubuntu appeared first on PixelsPress.
]]>The post How to Switch WordPress from PHP 7.2-FPM to PHP 7.3-FPM on Ubuntu 19.10 with Nginx appeared first on PixelsPress.
]]>WordPress 5.* and up comes with PHP 7.3-FPM support. If you’re running older versions of PHP-FPM, you can use the following steps to switch WordPress from PHP 7.2-FPM to PHP 7.3-FPM on Ubuntu 19.10 with Nginx HTTP server running WordPress.
Some themes and plugins are still not compatible with PHP 7.3-FPM so before to upgrade please make sure that your theme & plugins are compatible with PHP 7.3FPM.
Switch PHP 7.2-FPM to PHP 7.3-FPM with Nginx on Ubuntu
Run the following commands before to install PHP 7.3-FPM packages
sudo apt-get install software-properties-common
sudo add-apt-repository ppa:ondrej/php
sudo apt update
Now install PHP 7.3-FPM on Ubuntu & most commonly used PHP extensions using the following command:
sudo apt install php7.3-fpm php7.3-common php7.3-zip php7.3-curl php7.3-xml php7.3-xmlrpc php7.3-json php7.3-mysql php7.3-pdo php7.3-gd php7.3-imagick php7.3-ldap php7.3-imap php7.3-mbstring php7.3-intl php7.3-cli php7.3-recode php7.3-tidy php7.3-bcmath php7.3-opcacheCheck the PHP installation
You can use php -v command to check the PHP version installed on your server and output will be
PHP 7.3.11-1+ubuntu19.10.1+deb.sury.org+6 (cli) (built: Oct 28 2019 21:34:37) ( NTS )
Copyright (c) 1997-2018 The PHP Group
Zend Engine v3.3.11, Copyright (c) 1998-2018 Zend Technologies
    with Zend OPcache v7.3.11-1+ubuntu19.10.1+deb.sury.org+6, Copyright (c) 1999-2018, by Zend Technologies
You can also confirm installed version of any PHP extension using apt policy command i.e. apt policy php7.3-cli and output will be
php7.3-cli:
  Installed: 7.3.11-1+ubuntu19.10.1+deb.sury.org+6
  Candidate: 7.3.11-1+ubuntu19.10.1+deb.sury.org+6
  Version table:
 *** 7.3.11-1+ubuntu19.10.1+deb.sury.org+6 500
        500 http://ppa.launchpad.net/ondrej/php/ubuntu eoan/main amd64 Packages
        100 /var/lib/dpkg/status
     7.3.11-0ubuntu0.19.10.1 500
        500 http://archive.ubuntu.com/ubuntu eoan-updates/main amd64 Packages
        500 http://security.ubuntu.com/ubuntu eoan-security/main amd64 Packages
     7.3.8-1 500
        500 http://archive.ubuntu.com/ubuntu eoan/main amd64 Packages
Now, PHP 7.3-FPM has been installed on your Ubuntu. The default Nginx PHP-FPM configuration file is at /etc/php/7.3/fpm/php.ini and if we want to modify the default PHP configuration, open file for Nginx using the following command:
sudo nano /etc/php/7.3/fpm/php.iniConfigure PHP 7.3-FPM for Nginx
Make the changes on the following below lines in the file and save. The value below is great settings to apply in your environments.
max_execution_time = 180
max_input_time = 120
max_input_vars = 5000
memory_limit = 256M
cgi.fix_pathinfo = 0
file_uploads = On
upload_max_filesize = 100M
allow_url_fopen = On
date.timezone = Asia/Karachi
After making the change above, save the file and close out.
Restart Nginx And PHP-FPM
After installing PHP and related modules, all you have to do is restart Nginx to reload PHP configurations.
To restart Nginx and PHP-FPM, run the commands below
sudo systemctl restart nginx.service
sudo systemctl restart php7.3-fpm.service
Now you are having PHP-FPM 7.3 Installed and configured.
Open the Nginx site configuration and configure the PHP block to use PHP 7.3-FPM
sudo nano /etc/nginx/sites-available/yourprojectnameThen modify the PHP block session from fastcgi_pass unix:/var/run/php/php7.2-fpm.sock; to fastcgi_pass unix:/var/run/php/php7.3-fpm.sock; i.e.
location ~ \.php$ {
     include snippets/fastcgi-php.conf;
     fastcgi_pass unix:/var/run/php/php7.3-fpm.sock;
     fastcgi_param SCRIPT_FILENAME $document_root$fastcgi_script_name;
     include fastcgi_params;
}
After that, restart Nginx HTTP server to use PHP 7.3-FPM.
sudo systemctl restart nginx.serviceFinally, run the following command to remove all PHP 7.2 packages.
sudo apt-get purge `dpkg -l | grep php7.2| awk '{print $2}' |tr "\n" " "`Once you will run the above command, It will prompt you to accept the changes to your system. Type ‘Y’ to continue; when you’re done, PHP 7.3-FPM should be enabled and PHP 7.2-FPM completely removed from Ubuntu.
The post How to Switch WordPress from PHP 7.2-FPM to PHP 7.3-FPM on Ubuntu 19.10 with Nginx appeared first on PixelsPress.
]]>The post How to Install WordPress on Ubuntu with Nginx, MariaDB and PHP-FPM appeared first on PixelsPress.
]]>Prerequisites
- Have an Ubuntu 19.10 x64 instance.
- Logged in as a root with sudo privileges.
- Installed Nginx, MariaDB and PHP-FPM
Note: For demonstration purposes, we’re going to set up one domain on our Nginx server. The domain name we’ll use in this guide is yourdomain.com.
To get started with the installation of WordPress, follow the steps below:
Step 1: Create WordPress Database
To logon to MariaDB database server, run the following commands:
sudo mysql -u root -pThen create a database called yourname_live
CREATE DATABASE yourname_live;Now create a database user called yourname_live_user with a new password
CREATE USER 'yourname_live_user'@'localhost' IDENTIFIED BY 'your_password_here';And grant the user full access to the database.
GRANT ALL ON yourname_live.* TO 'yourname_live_user'@'localhost' IDENTIFIED BY 'your_password_here' WITH GRANT OPTION;Finally, save your changes and exit.
FLUSH PRIVILEGES;
EXIT;
Step 2: Download WordPress Latest Release
To get WordPress latest release, go to its official download page and get it from there. The following link is from where we can find latest WordPress archive versions.
cd /tmp
wget https://wordpress.org/latest.tar.gz
tar -xvzf latest.tar.gz
sudo mv wordpress /var/www/html/yourdomain.com
Now run the commands below to set the correct permissions for WordPress root directory and give Nginx control
sudo chown -R www-data:www-data /var/www/html/yourdomain.com/
sudo chmod -R 755 /var/www/html/yourdomain.com/
Step 3: Configure Nginx
Finally, configure Nginx site configuration file for WordPress. This file will control how users access WordPress content. Run the following commands to create a new configuration file called yourdomain.com.conf
sudo nano /etc/nginx/sites-available/yourdomain.com.confCopy and paste the following content into ‘yourdomain.com.conf’ file and save it. Replace the highlighted line with your own domain name and directory root location.
#yourdomain.com configuration
server {
    charset utf-8;

    # set max upload size
    client_max_body_size 2G;
    fastcgi_buffers 64 4K;

    listen 80;  # Listen for ipv4
    listen [::]:80; # Listen for ipv6
    server_name yourdomain.com www.yourdomain.com;

    root /var/www/html/yourdomain.com;
    index index.php index.html index.htm;

    location / {
        try_files $uri $uri/ /index.php?$args;
    }

    location ~ \.php$ {
        include snippets/fastcgi-php.conf;
        fastcgi_pass unix:/var/run/php/php7.3-fpm.sock;
        fastcgi_param SCRIPT_FILENAME $document_root$fastcgi_script_name;
        include fastcgi_params;
    }
}
Save the file and exit.
Step 4: Enable the WordPress
After configuring the Virtual Host above, enable it by running the commands below
sudo ln -s /etc/nginx/sites-available/yourdomain.com.conf /etc/nginx/sites-enabled/
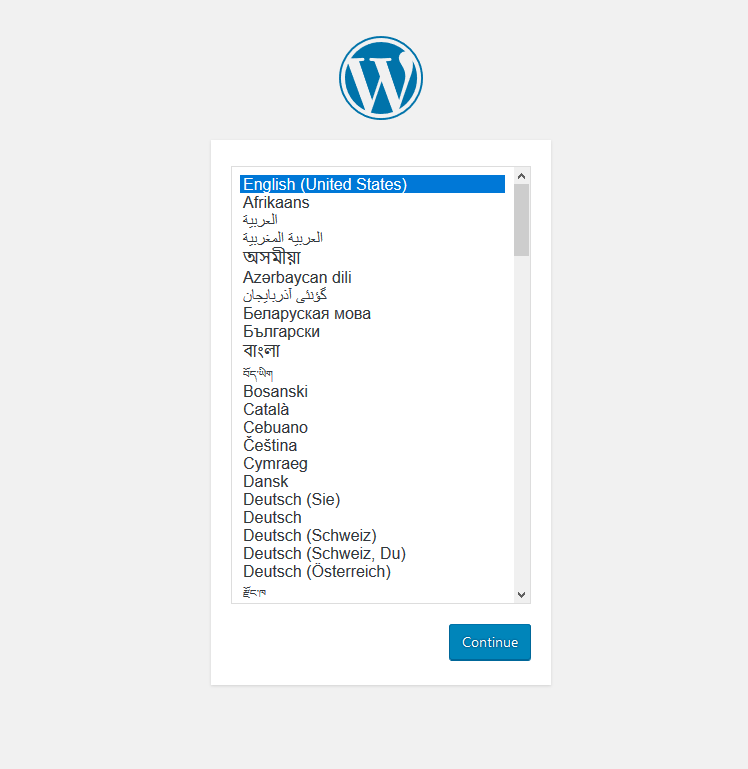
sudo systemctl restart nginxThen open your browser and browse to the server domain name. You should see WordPress setup wizard to complete. Please follow the wizard carefully.
http://yourdomain.comFollow the on-screen instructions. i.e. select the installation language and click Continue.
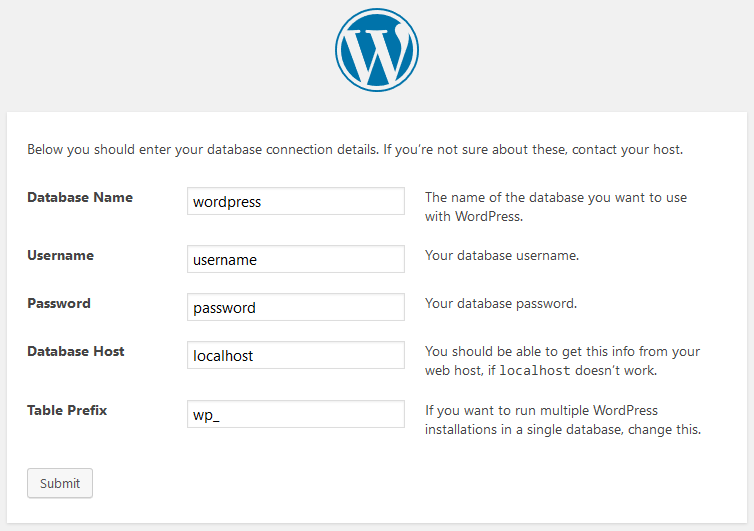
You will need to know the following
Before getting started, we need some information on the database. You will need to know the following items before proceeding.
- database_name
- database_username
- database_password
- database_host
- Table prefix (if you want to run more than one WordPress in a single database)
WordPress will going to use this information to create a wp-config.php file.

Next, you should enter your database connection details and if you’re not sure about these, contact your host.
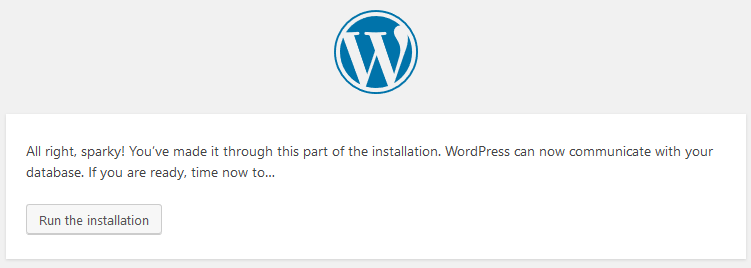
After that, click Run the installation to complete the WordPress setup.
Next, fill in the WordPress site information and then click Install WordPress
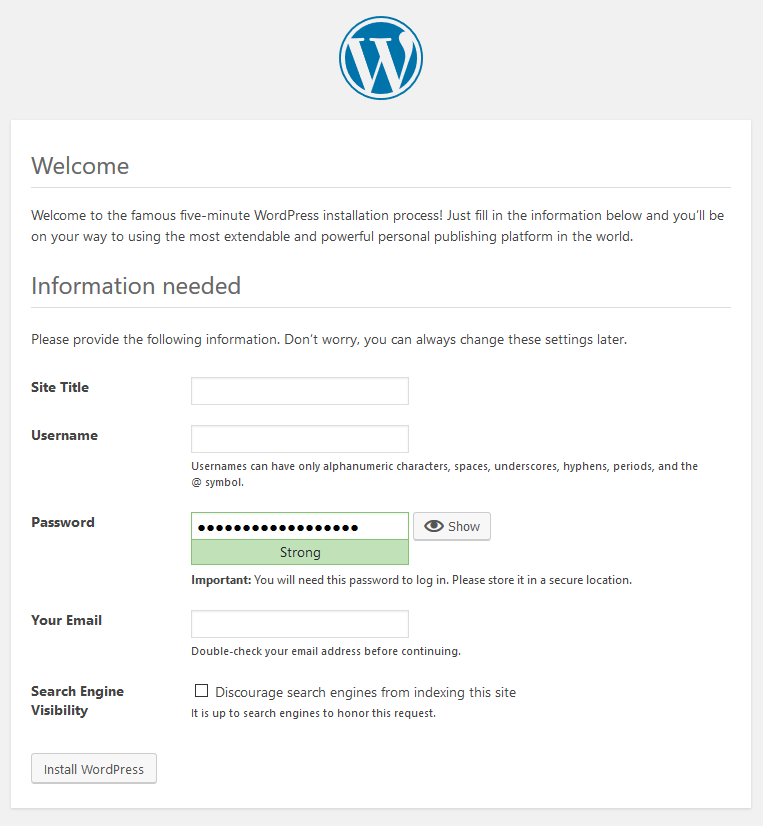
You’re done. WordPress is installed now and ready to use.
The post How to Install WordPress on Ubuntu with Nginx, MariaDB and PHP-FPM appeared first on PixelsPress.
]]>The post How to Install Nginx on Ubuntu appeared first on PixelsPress.
]]>Prerequisites
- Have an Ubuntu 16.04 x64 / 18.04 x64 / 20.04 x64 / 22.04 x64 instance.
- Logged in as a root with sudo privileges.
To get started with the installation of Nginx, follow the steps below:
Install Nginx on Ubuntu
Before to install server, run the following commands first to update Ubuntu:
sudo apt update
sudo apt upgrade
Next, install Nginx web server with the following command:
sudo apt install nginxThis is it, Nginx is installed and it starts automatically. You can check the Nginx service status by using the following command:
sudo systemctl status nginx● nginx.service - A high performance web server and a reverse proxy server
Loaded: loaded (/lib/systemd/system/nginx.service; enabled; vendor preset: enabled)
Active: active (running) since Fri 2019-11-08 13:15:24 UTC; 7s ago
Docs: man:nginx(8)
Main PID: 23018 (nginx)
Tasks: 2 (limit: 2287)
Memory: 5.7M
CGroup: /system.slice/nginx.service
├─23018 nginx: master process /usr/sbin/nginx -g daemon on; master_process on;
└─23019 nginx: worker process
Nov 08 13:15:24 yourdomainname.com systemd[1]: Starting A high performance web server and a reverse proxy server...
Nov 08 13:15:24 yourdomainname.com systemd[1]: Started A high performance web server and a reverse proxy server.The other following commands used to stop, start and enable Nginx service.
sudo systemctl stop nginx.service
sudo systemctl start nginx.service
sudo systemctl enable nginx.service
Note: Ubuntu 22.04 uses the UFW firewall by default, which stands for “Uncomplicated Firewall.” When the firewall is enabled, it will block all incoming connections. To allow incoming connections on certain ports, you have to configure the UFW firewall.
To open ports for a Nginx web server, you have to execute the following command:
sudo ufw allow in "Nginx Full"Now to check your current firewall configuration settings, please run the following command:
sudo ufw status verboseand the output will be:
Status: active
Logging: on (low)
Default: deny (incoming), allow (outgoing), disabled (routed)
New profiles: skip
To Action From
-- ------ ----
22 ALLOW IN Anywhere
80,443/tcp (Nginx Full) ALLOW IN Anywhere
22 (v6) ALLOW IN Anywhere (v6)
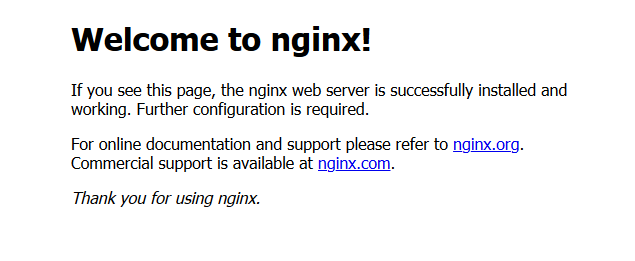
80,443/tcp (Nginx Full (v6)) ALLOW IN Anywhere (v6)Verifying the Nginx Installation in Browser
To verify that Nginx working, open your browser, write your domain name or server IP address i.e. http://YOUR_IP_OR_DOMAIN and you will see the following default Ubuntu Nginx welcome page.
Conclusion
You have learned how to install Nginx on Ubuntu server. You can repeat the steps we outlined above and install it on additional new Ubuntu servers.
If you are facing any problems, feel free to leave a comment.
The post How to Install Nginx on Ubuntu appeared first on PixelsPress.
]]>