
Here is how you can install Nginx on Ubuntu. In particular on Vultr’s instance i.e. Ubuntu 16.04 LTS / 18.04 LTS / 20.04 LTS / 22.04 LTS.
Prerequisites
- Have an Ubuntu 16.04 x64 / 18.04 x64 / 20.04 x64 / 22.04 x64 instance.
- Logged in as a root with sudo privileges.
To get started with the installation of Nginx, follow the steps below:
Install Nginx on Ubuntu
Before to install server, run the following commands first to update Ubuntu:
sudo apt update
sudo apt upgrade
Next, install Nginx web server with the following command:
sudo apt install nginxThis is it, Nginx is installed and it starts automatically. You can check the Nginx service status by using the following command:
sudo systemctl status nginx● nginx.service - A high performance web server and a reverse proxy server
Loaded: loaded (/lib/systemd/system/nginx.service; enabled; vendor preset: enabled)
Active: active (running) since Fri 2019-11-08 13:15:24 UTC; 7s ago
Docs: man:nginx(8)
Main PID: 23018 (nginx)
Tasks: 2 (limit: 2287)
Memory: 5.7M
CGroup: /system.slice/nginx.service
├─23018 nginx: master process /usr/sbin/nginx -g daemon on; master_process on;
└─23019 nginx: worker process
Nov 08 13:15:24 yourdomainname.com systemd[1]: Starting A high performance web server and a reverse proxy server...
Nov 08 13:15:24 yourdomainname.com systemd[1]: Started A high performance web server and a reverse proxy server.The other following commands used to stop, start and enable Nginx service.
sudo systemctl stop nginx.service
sudo systemctl start nginx.service
sudo systemctl enable nginx.service
Note: Ubuntu 22.04 uses the UFW firewall by default, which stands for “Uncomplicated Firewall.” When the firewall is enabled, it will block all incoming connections. To allow incoming connections on certain ports, you have to configure the UFW firewall.
To open ports for a Nginx web server, you have to execute the following command:
sudo ufw allow in "Nginx Full"Now to check your current firewall configuration settings, please run the following command:
sudo ufw status verboseand the output will be:
Status: active
Logging: on (low)
Default: deny (incoming), allow (outgoing), disabled (routed)
New profiles: skip

To                         Action      From
--                         ------      ----
22                         ALLOW IN    Anywhere
80,443/tcp (Nginx Full)    ALLOW IN    Anywhere
22 (v6)                    ALLOW IN    Anywhere (v6)
80,443/tcp (Nginx Full (v6)) ALLOW IN    Anywhere (v6)
Verifying the Nginx Installation in Browser
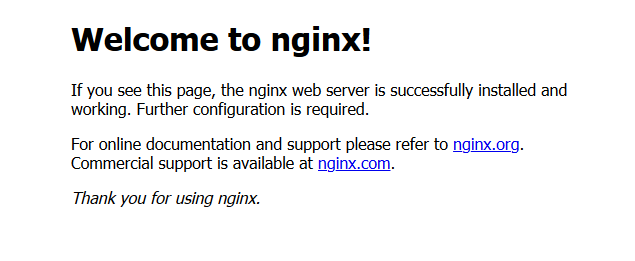
To verify that Nginx working, open your browser, write your domain name or server IP address i.e. http://YOUR_IP_OR_DOMAIN and you will see the following default Ubuntu Nginx welcome page.
Conclusion
You have learned how to install Nginx on Ubuntu server. You can repeat the steps we outlined above and install it on additional new Ubuntu servers.
If you are facing any problems, feel free to leave a comment.