Here is how you can set up Nginx Server Block on Ubuntu. In particular on Vultr‘s instance i.e. Ubuntu 16.04 LTS / 18.04 LTS / 22.04 LTS.
Prerequisites
- Have an Ubuntu 16.04 x64 / 18.04 x64 / 22.04 x64 instance.
- Logged in as a root with sudo privileges.
- Installed Nginx on Ubuntu.
Note: For demonstration purposes, we’re going to set up one domain on our Nginx server. The domain name we’ll use in this guide is yourdomain1.com.
Setting Up Document Root
The document root is the directory where the website files for a domain name are stored and served in response to requests. We will create document root within /var/www for our website with the following directory structure:
/var/www/
├── yourdomain1.com
│   └── html
├── yourdomain2.com
│   └── html
We need to create the directory for our website by running the following command:
sudo mkdir -p /var/www/yourdomain1.com/htmlThe -p flag tells mkdir to create any necessary parent directories along the way:
We are assuming that we have already placed an HTML file on our domain that will be shown when you visit the domain in your browser i.e.
/var/www/yourdomain1.com/html/index.htmlSince the command above is executed as a sudo user, the newly created files and directories are owned by root.
To avoid any permission issues, we can reassign the ownership of the domain document root directory to the Nginx user (www-data):
sudo chown -R www-data:www-data /var/www/yourdomain1.com/htmlCreating a Server Block
On Ubuntu, Nginx Server Block configuration files are located in /etc/nginx/sites-available directory. They can be enabled by creating symbolic links to the /etc/nginx/sites-enabled directory, which Nginx reads during the startup.
We will create our first server block config file by copying over the default file:
sudo cp /etc/nginx/sites-available/default /etc/nginx/sites-available/yourdomain1.com.confNow, open the new file you created in your text editor with sudo privileges i.e.
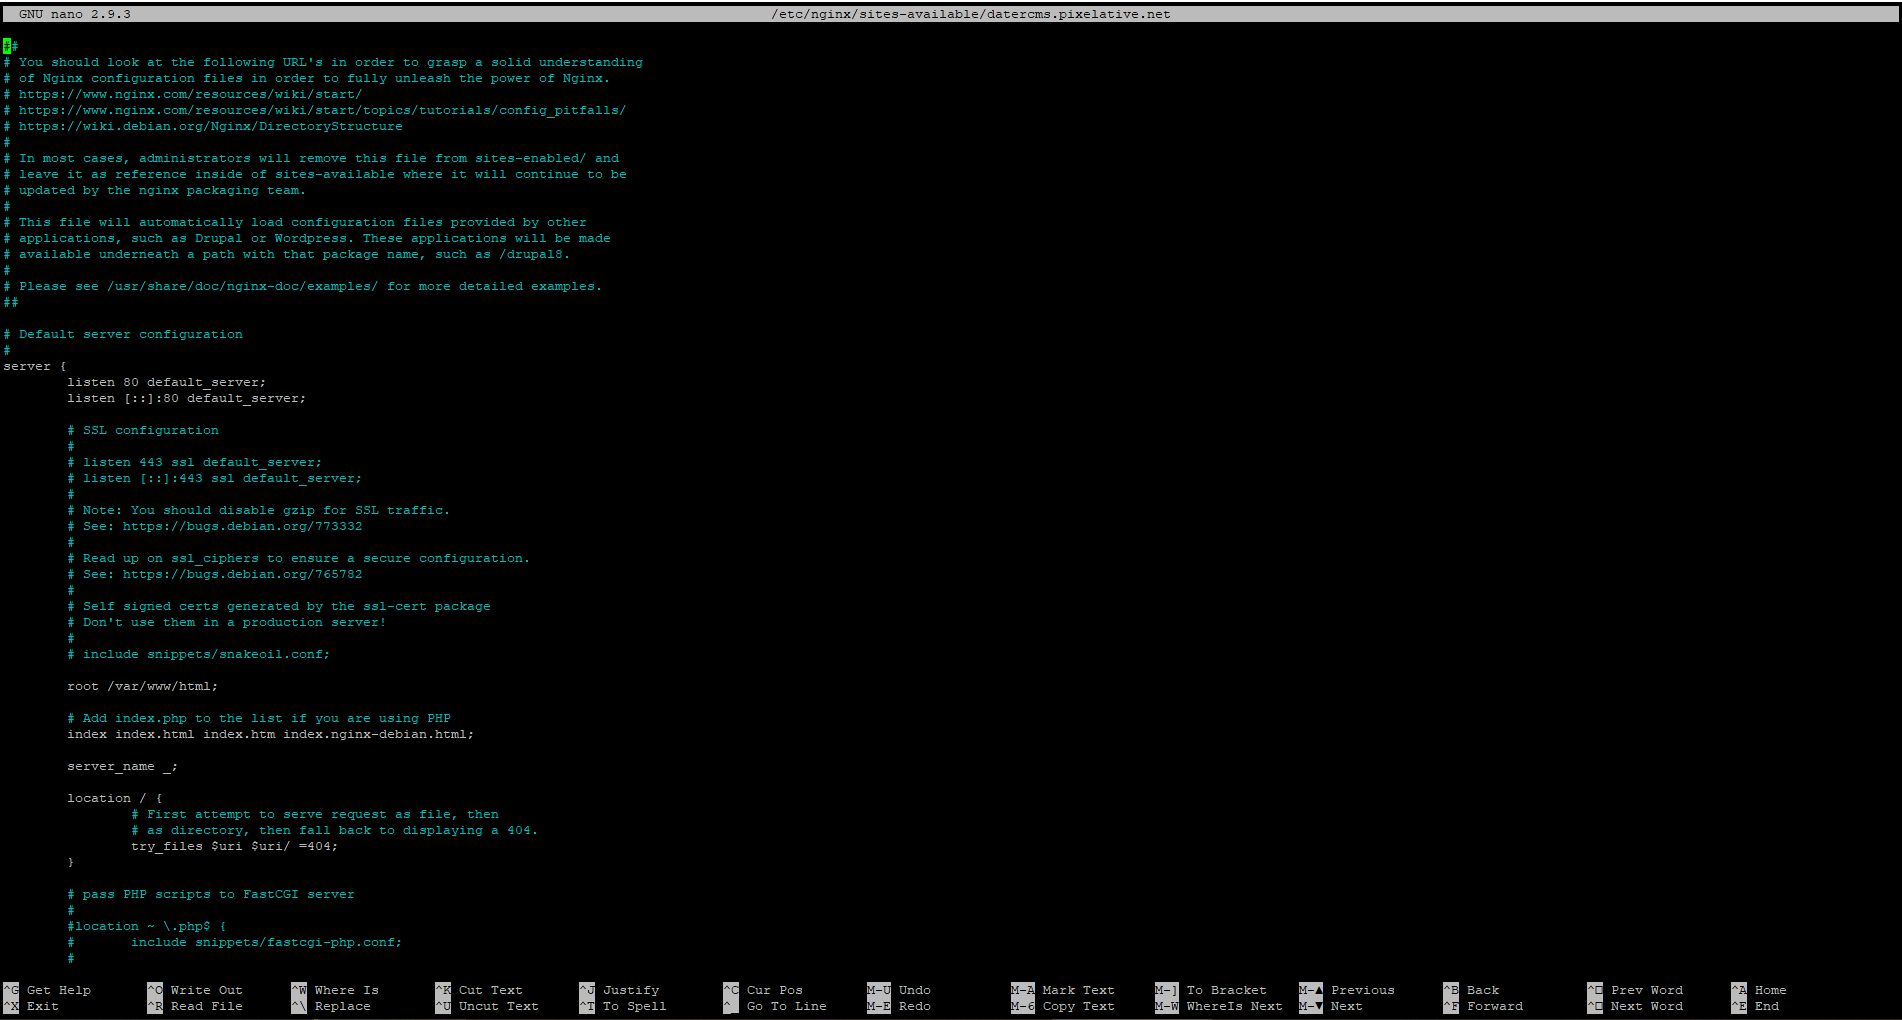
sudo nano /etc/nginx/sites-available/yourdomain1.com.confThe file will look similar to following

First, we need to look at the listen directives. Only one of our server blocks on the server can have the default_server option enabled. This specifies which block should serve a request if the server_name requested does not match any of the available server blocks. This shouldn’t happen very frequently in real world scenarios since visitors will be accessing your site through your domain name.
In this guide, we’ll leave the default server block in place to serve non-matching requests, so we’ll remove the default_server from this and the next server block.
server {
    listen 80;
    listen [::]:80;

    root /var/www/yourdomain1.com/html;

    server_name yourdomain1.com www.yourdomain1.com;

    location / {
	try_files $uri $uri/ =404;
    }
}root: Adjusted the document root by pointing it to the site’s document root that we created:server_nameto match requests for our domain. We can additionally add any aliases that we want to match. We will add awww.yourdomain1.comalias to demonstrate.
That is all we need for a basic configuration. Save and close the file to exit.
Enable your Server Block and Restart Nginx
Now that we have our server block file, we need to enable them. We can enable the new server block by creating symbolic link from the file to the sites-enabled directory with the following command, which Nginx reads during startup.
sudo ln -s /etc/nginx/sites-available/yourdomain1.com.conf /etc/nginx/sites-enabled/Next, test the Nginx configuration to make sure that there are no syntax errors in any of your Nginx files:
sudo nginx -tIf there are no errors, the output will look like this:
nginx: the configuration file /etc/nginx/nginx.conf syntax is ok
nginx: configuration file /etc/nginx/nginx.conf test is successful
Now restart Nginx to enable your changes:
sudo systemctl restart nginxNginx should now be serving your domain name.
Conclusion
You should now have the ability to create server block for each domain you wish to host from the same server. You can repeat the steps we outlined above and create additional server blocks for all of your domains.
If you are facing any problems, feel free to leave a comment.


