
Here is how you can install PHP 7.2 on Ubuntu. In particular on Vultr’s instance i.e. Ubuntu 16.04 / 18.10 and 18.04 LTS.
PHP (recursive acronym for PHP: Hypertext Preprocessor) is a widely-used open source general-purpose scripting language that is especially suited for web development and can be embedded into HTML. It is one of the most popular languages and freely available for redistribution and modifications. It can be run on almost any web server ( e.g. Nginx, Apache) and every OS platform (Linux, Mac OS, Windows).
Prerequisites
- Have an Ubuntu 16.04 x64 / 18.01 x64 / 18.10 x64 instance.
- Logged in as a root with sudo privileges.
- You will also need to have Apache2 installed by following these instructions.
To get started with the installation of PHP, follow the steps below:
Step 1: Install Ondřej Surý’s PPA
PHP 7.2 can be installed using Ondřej Surý PPA, so install the software-properties-common package with the following command:
sudo apt-get install software-properties-commonNow add the ondrej PPA and update your sources using the following commands:
sudo add-apt-repository -y ppa:ondrej/php
sudo apt-get update
Step 2: Install PHP 7.2 & PHP Extensions
Install PHP 7.2 on Ubuntu & most commonly used PHP extensions using the following command:
sudo apt-get install php7.2 libapache2-mod-php7.2 php7.2-common php7.2-curl php7.2-mbstring php7.2-xmlrpc php7.2-mysql php7.2-gd php7.2-xml php7.2-intl php7.2-ldap php7.2-imagick php7.2-json php7.2-cliStep 3: Check the PHP installation
You can use the following command to check the PHP version installed on your server:
php -vYou should receive the following output:
PHP 7.2.17-1+ubuntu18.10.1+deb.sury.org+3 (cli) (built: Apr 10 2019 10:51:33) ( NTS )
Copyright (c) 1997-2018 The PHP Group
Zend Engine v3.2.0, Copyright (c) 1998-2018 Zend Technologies
    with Zend OPcache v7.2.17-1+ubuntu18.10.1+deb.sury.org+3, Copyright (c) 1999-2018, by Zend Technologies
Now, PHP 7.2 has been installed on your Ubuntu server, and if we want to modify the default PHP configuration, open file for Apache2 using the following command:
sudo nano /etc/php/7.2/apache2/php.iniMake the changes on the following below lines in the file and save. The value below is great settings to apply in your environments.
max_execution_time = 180
max_input_time = 360
max_input_vars = 5000
memory_limit = 256M
file_uploads = On
upload_max_filesize = 100M
allow_url_fopen = On
date.timezone = Asia/Karachi
After making the change above, save the file and close out.
Step 4: Restart Apache2
After installing PHP and related modules, all you have to do is restart Apache2 to reload PHP configurations.
To restart Apache2, run the commands below
sudo systemctl restart apache2.serviceTo test PHP 7.2 settings with Apache2, create a phpinfo.php file in Apache2 root directory by running the following command:
sudo nano /var/www/html/phpinfo.phpThen type the content below and save the file.
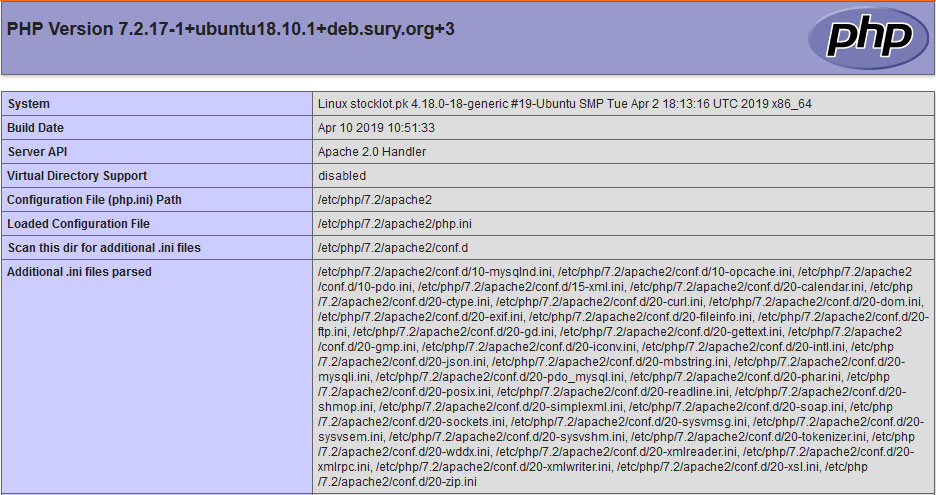
<?php phpinfo(); ?>Save the file and browse to your server hostname followed by /phpinfo.php. You should see PHP default test page.


Very helpful article. Thank you very much.